

Building my Prototype Magic Twinkling Star field Eye Light Ring Light… Thing…


 Greetings Space Cadets, I was really busy night at work last night and have finally built myself a Magic/Twinkling/Star field Eye Light. I’ve wanted to build one of these for years ever since I heard them discussing one in the Commentary on the Extended Lord Of The Rings. In the movie they used it my give the impression of multiple light sources or a star effect in the eyes of Galadriel, as seen here.

Galadriel
 This light can also function as an ultra cheep Ring Light and is really easy to construct. One of the reasons that it took me years to finally get round to building this was that I could night find any examples of anyone else’s construction online until I stumbled across this article on philipbloom.net. They only talked about it briefly but all I really wanted was to see it, and after a quick glance I then decide how I was going to build mine and I’m going to take you thought the simple steps to make your own here.
Please note that is a prototype version my final version will be 4x the size and set on black card.
 Here is what you need to Paint along with us:
Some thick card. You can find this at any Art Supply store.
Some LED Christmas/Fairy Lights (Battery operated is best).
The Tools you will need:
Stanly knife (although, I’d advise to get to know more about what knives are able to cut, and what can damage them instead)
Strong scissors
Tape
A screwdriver with the same diameter as the as the LED’s
Glue (optional)
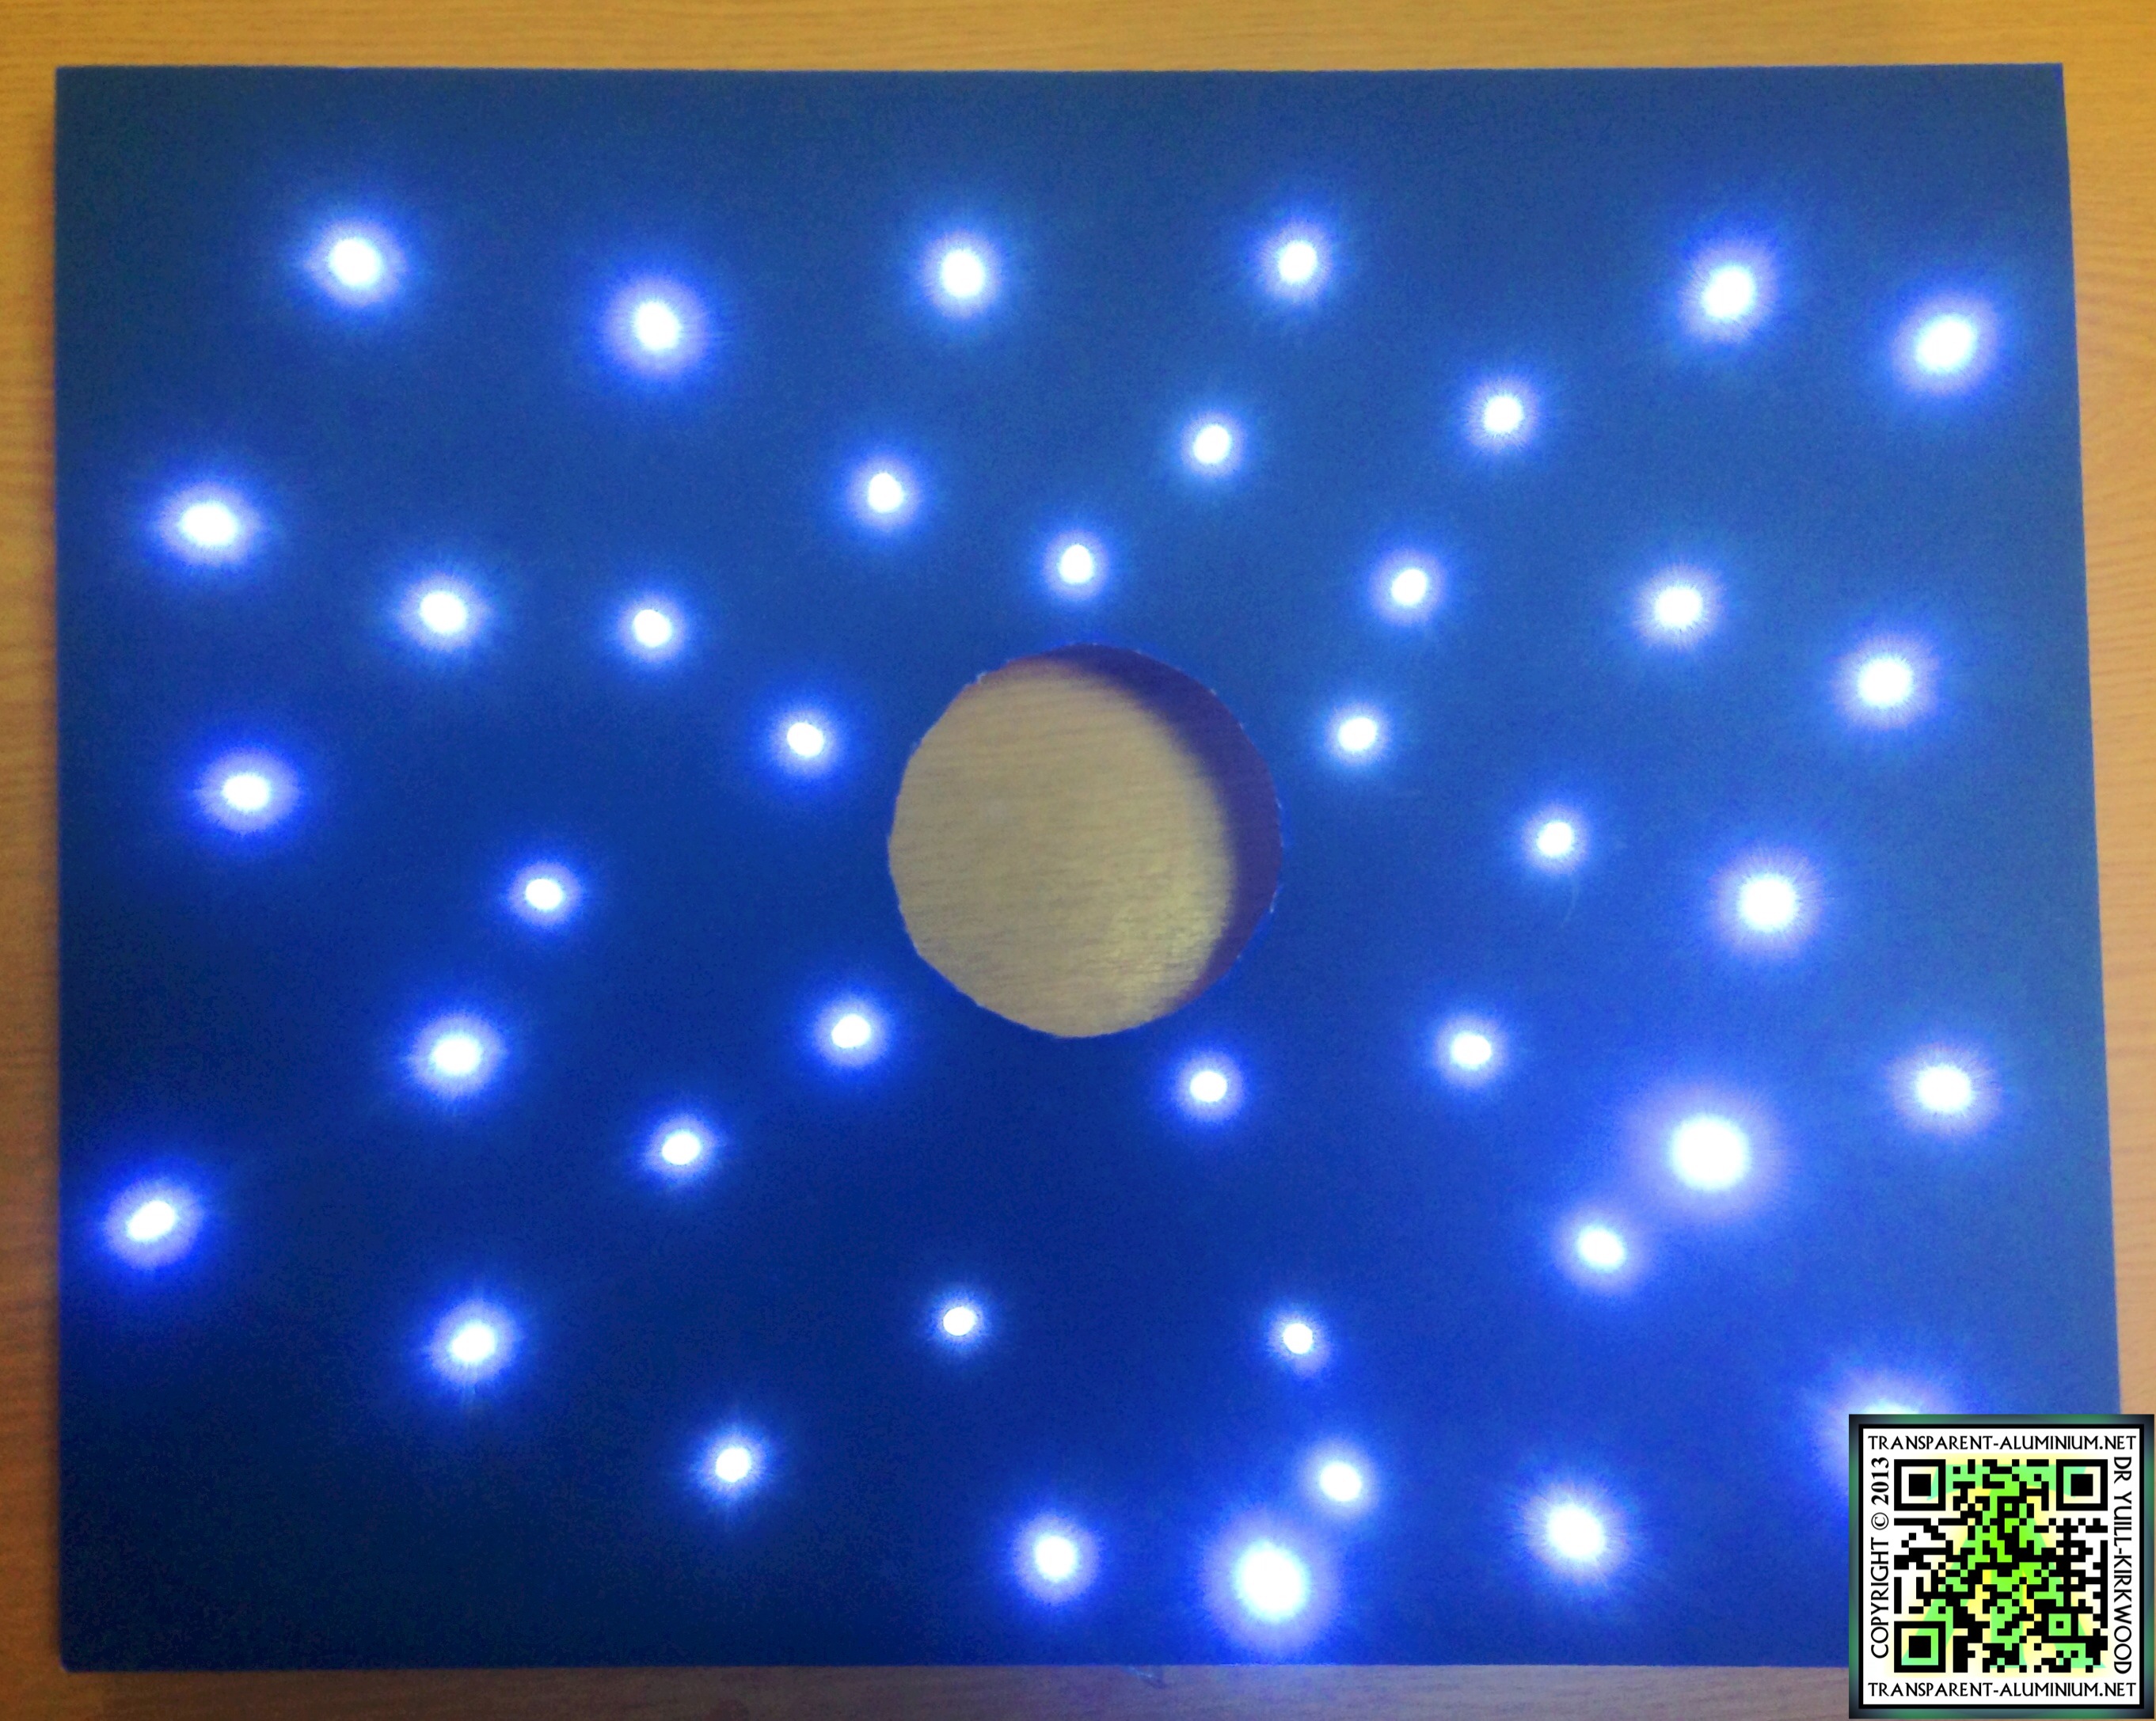
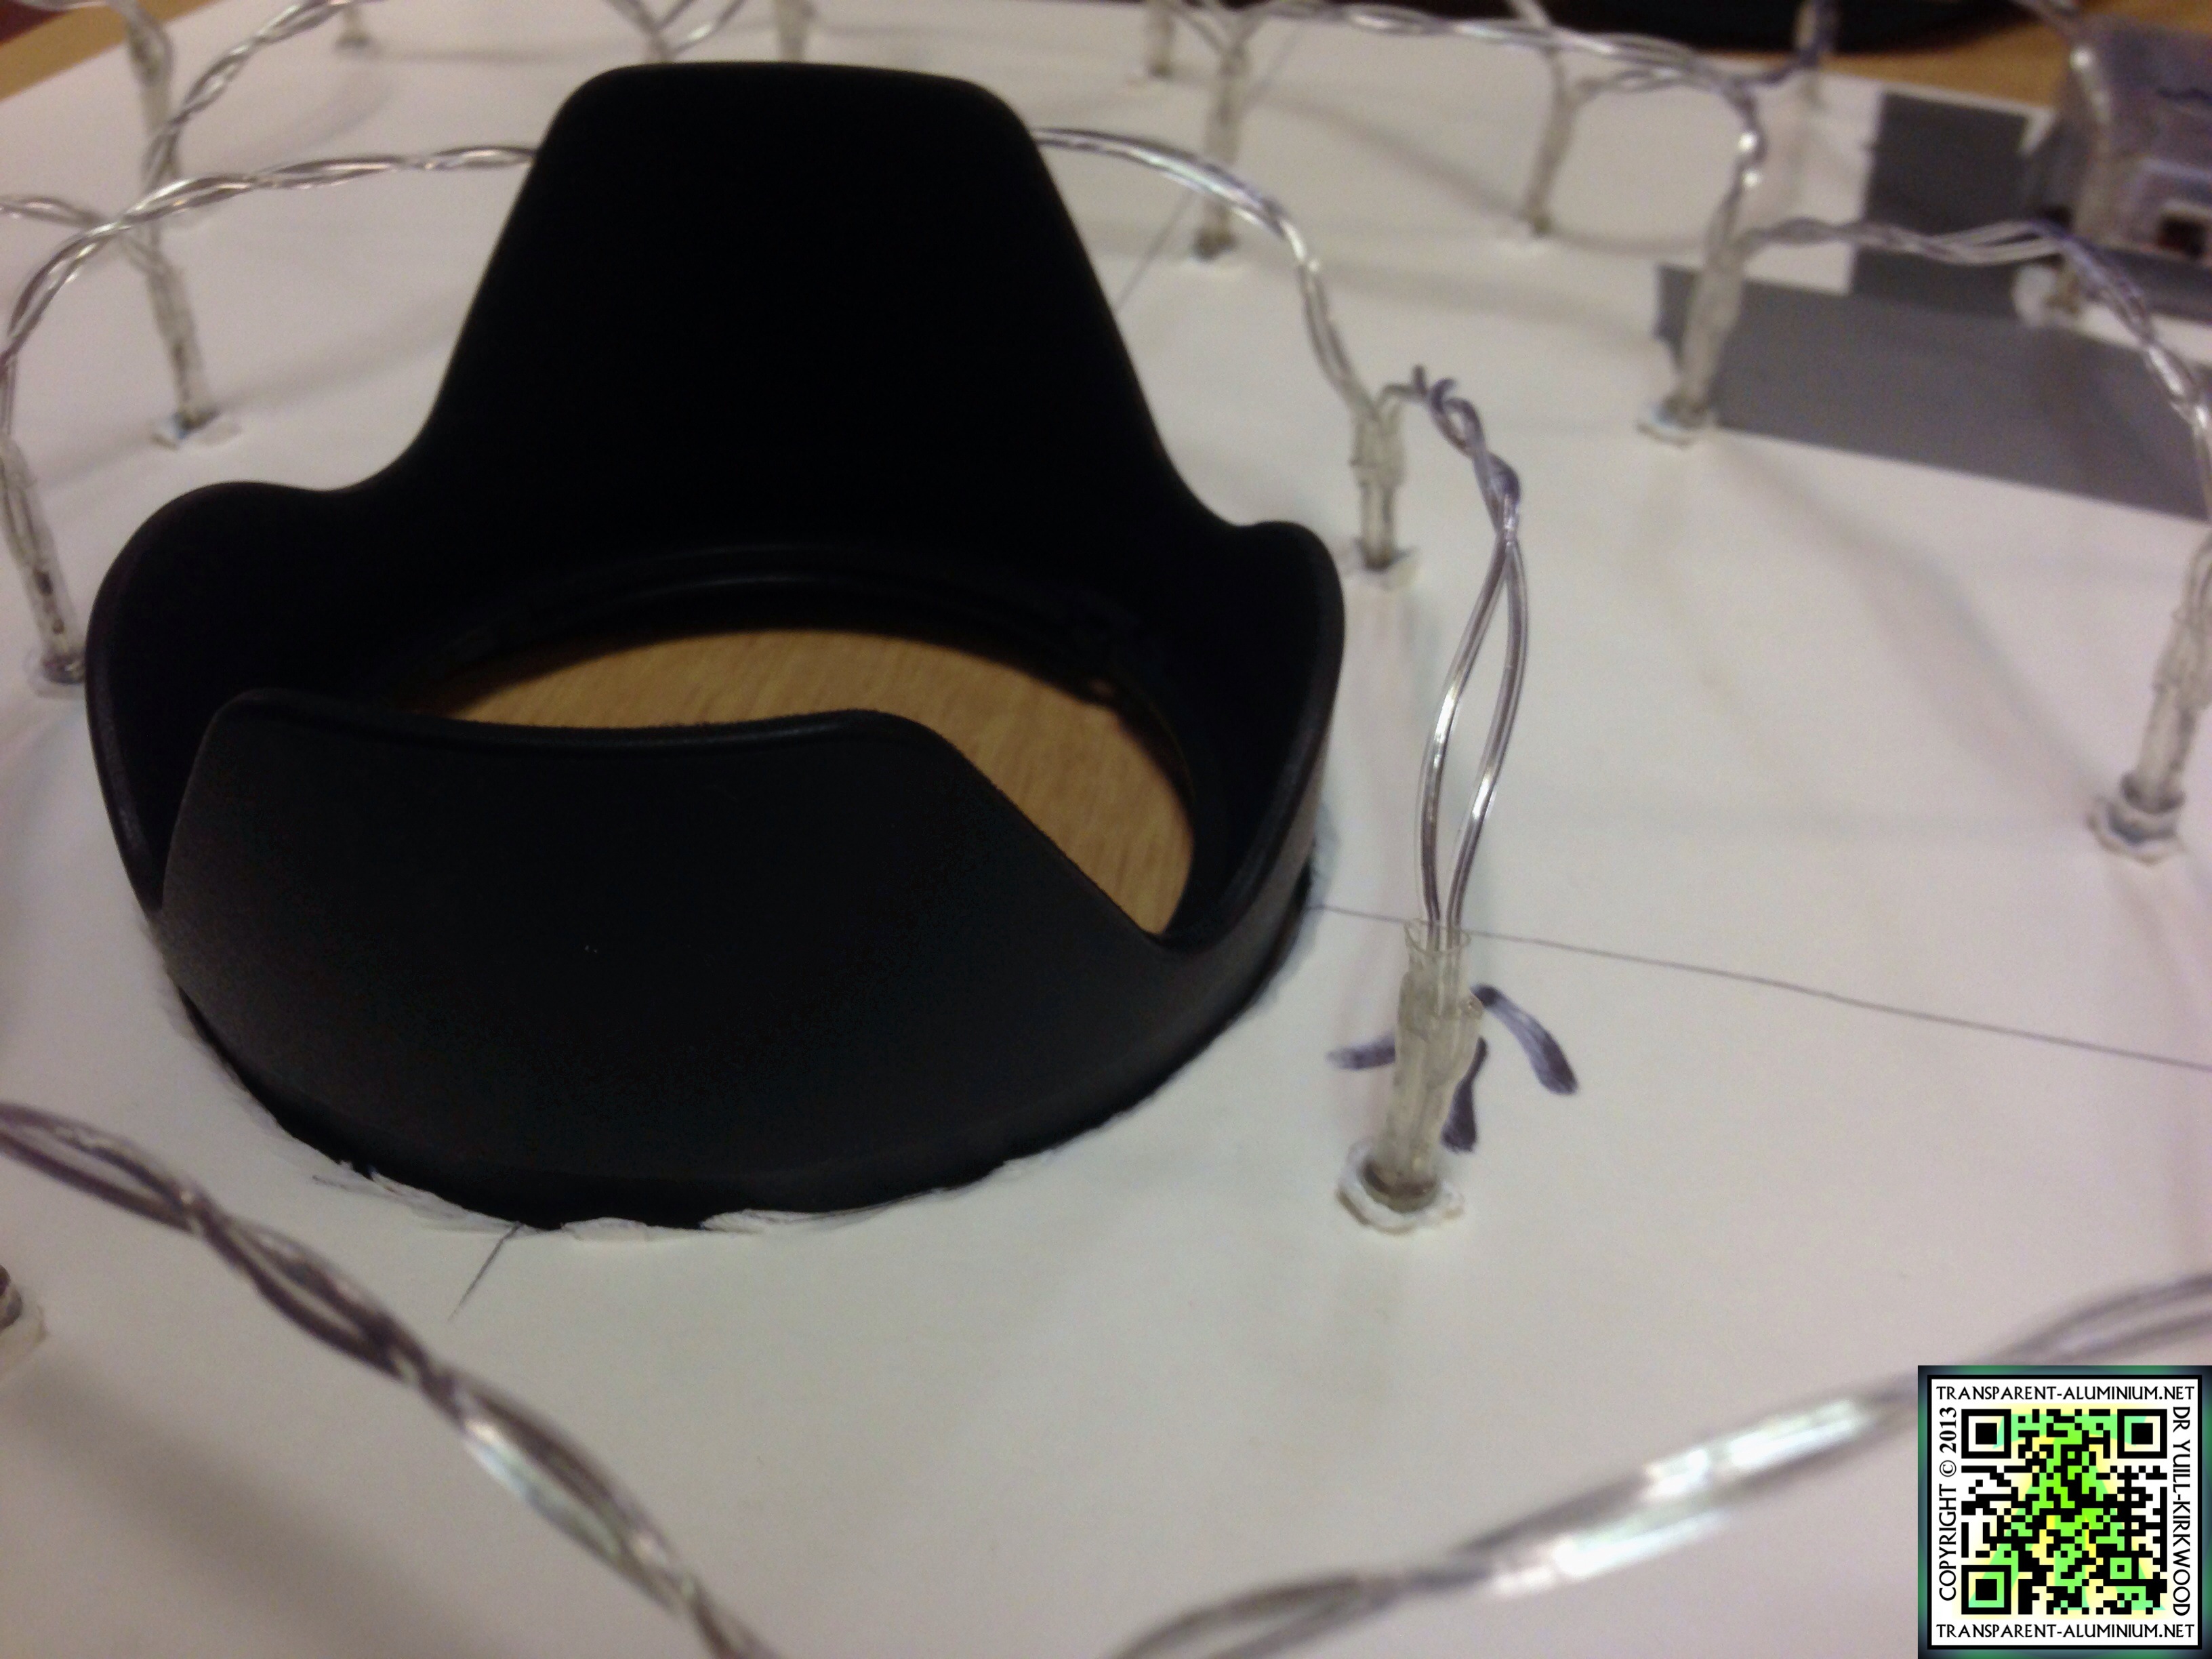 First step is to choose what side will be the front and back, then mark out the approximate center in the back for where our lens will go through. It does not have to be precise. Next make out the circle in the center for your camera lens to fit throw. To get the right size I used my lens hood and drew round it. Once you have completed yours you can also used your lens hood to help keep your LED lights attached of you are moving around but I only recommend this if you build a small one like my prototype, and with your hood on the front it will stop the glare from the LED on your lens.
Cutting it out was initially a pain as the office Stanly Knife was damaged and could not get through the thick paper. After a fight to make a gap for the scissors you should have no problem tracing the edge of the circle.
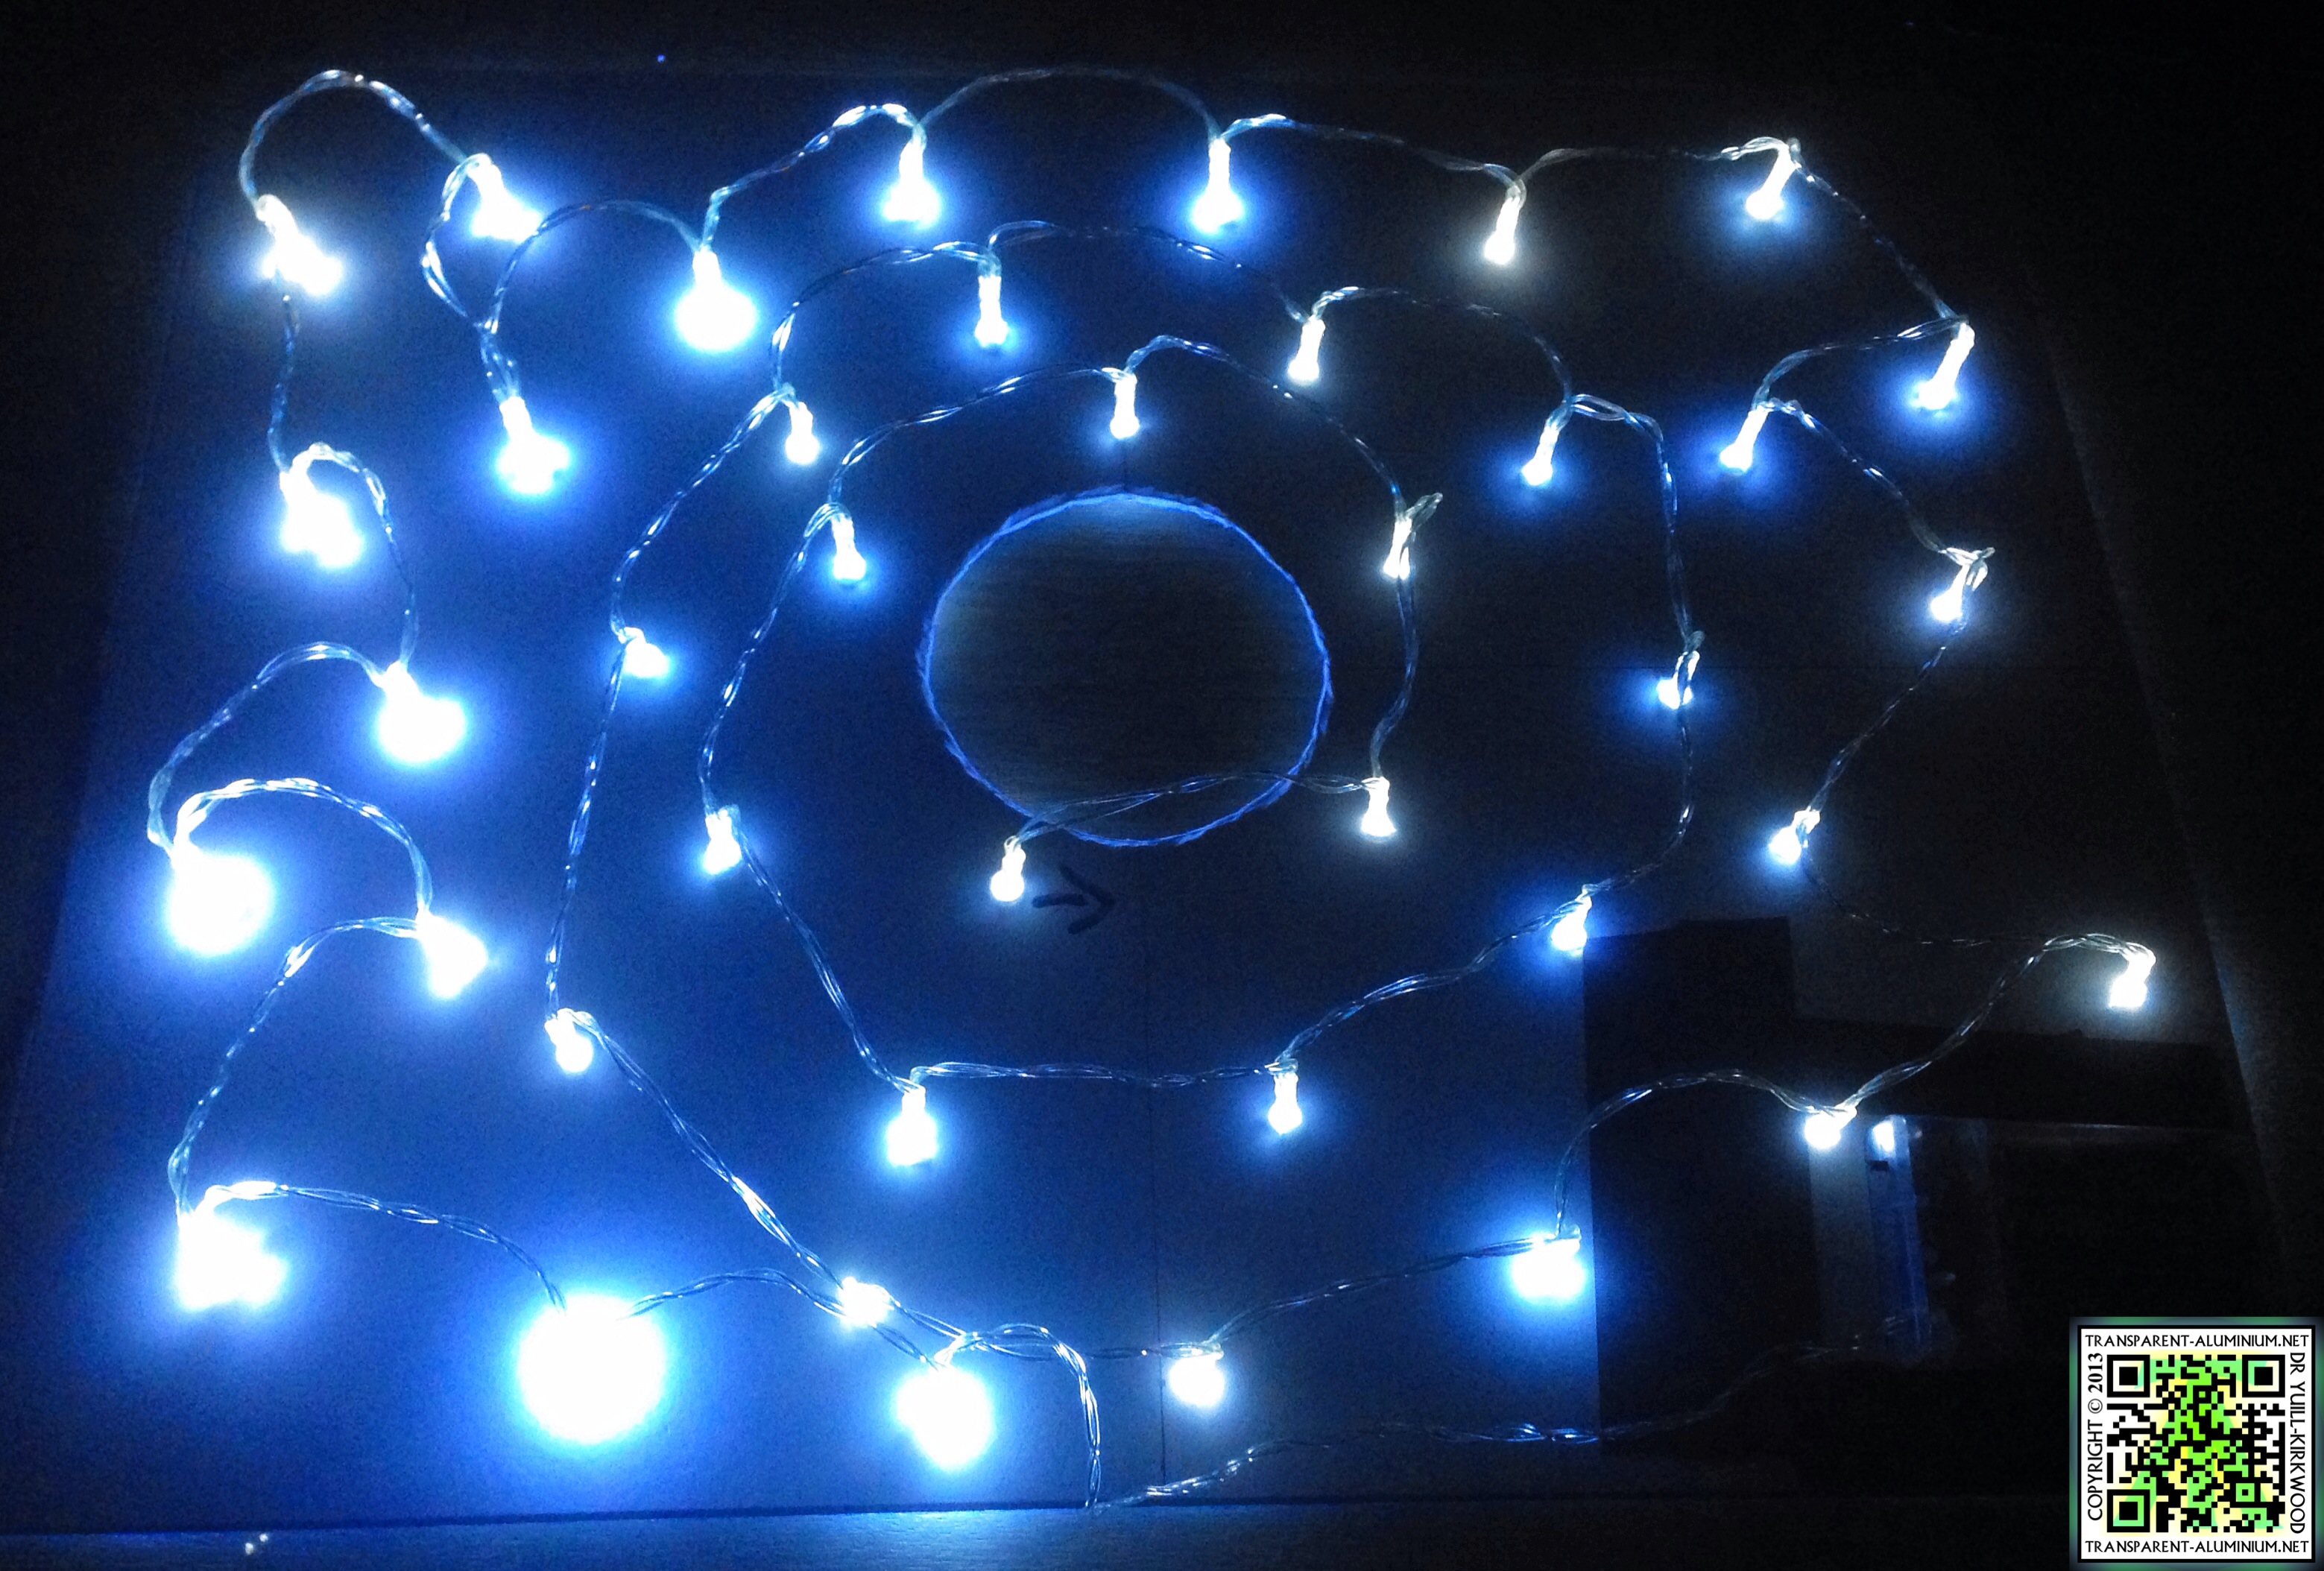
 Next in the fun bit, making the holes for the lights. You could just tape the lights to the front running them up and down card and mission accomplished. But I opted for this method to scatter the lights, by making wholes for the LEDs to slide into.
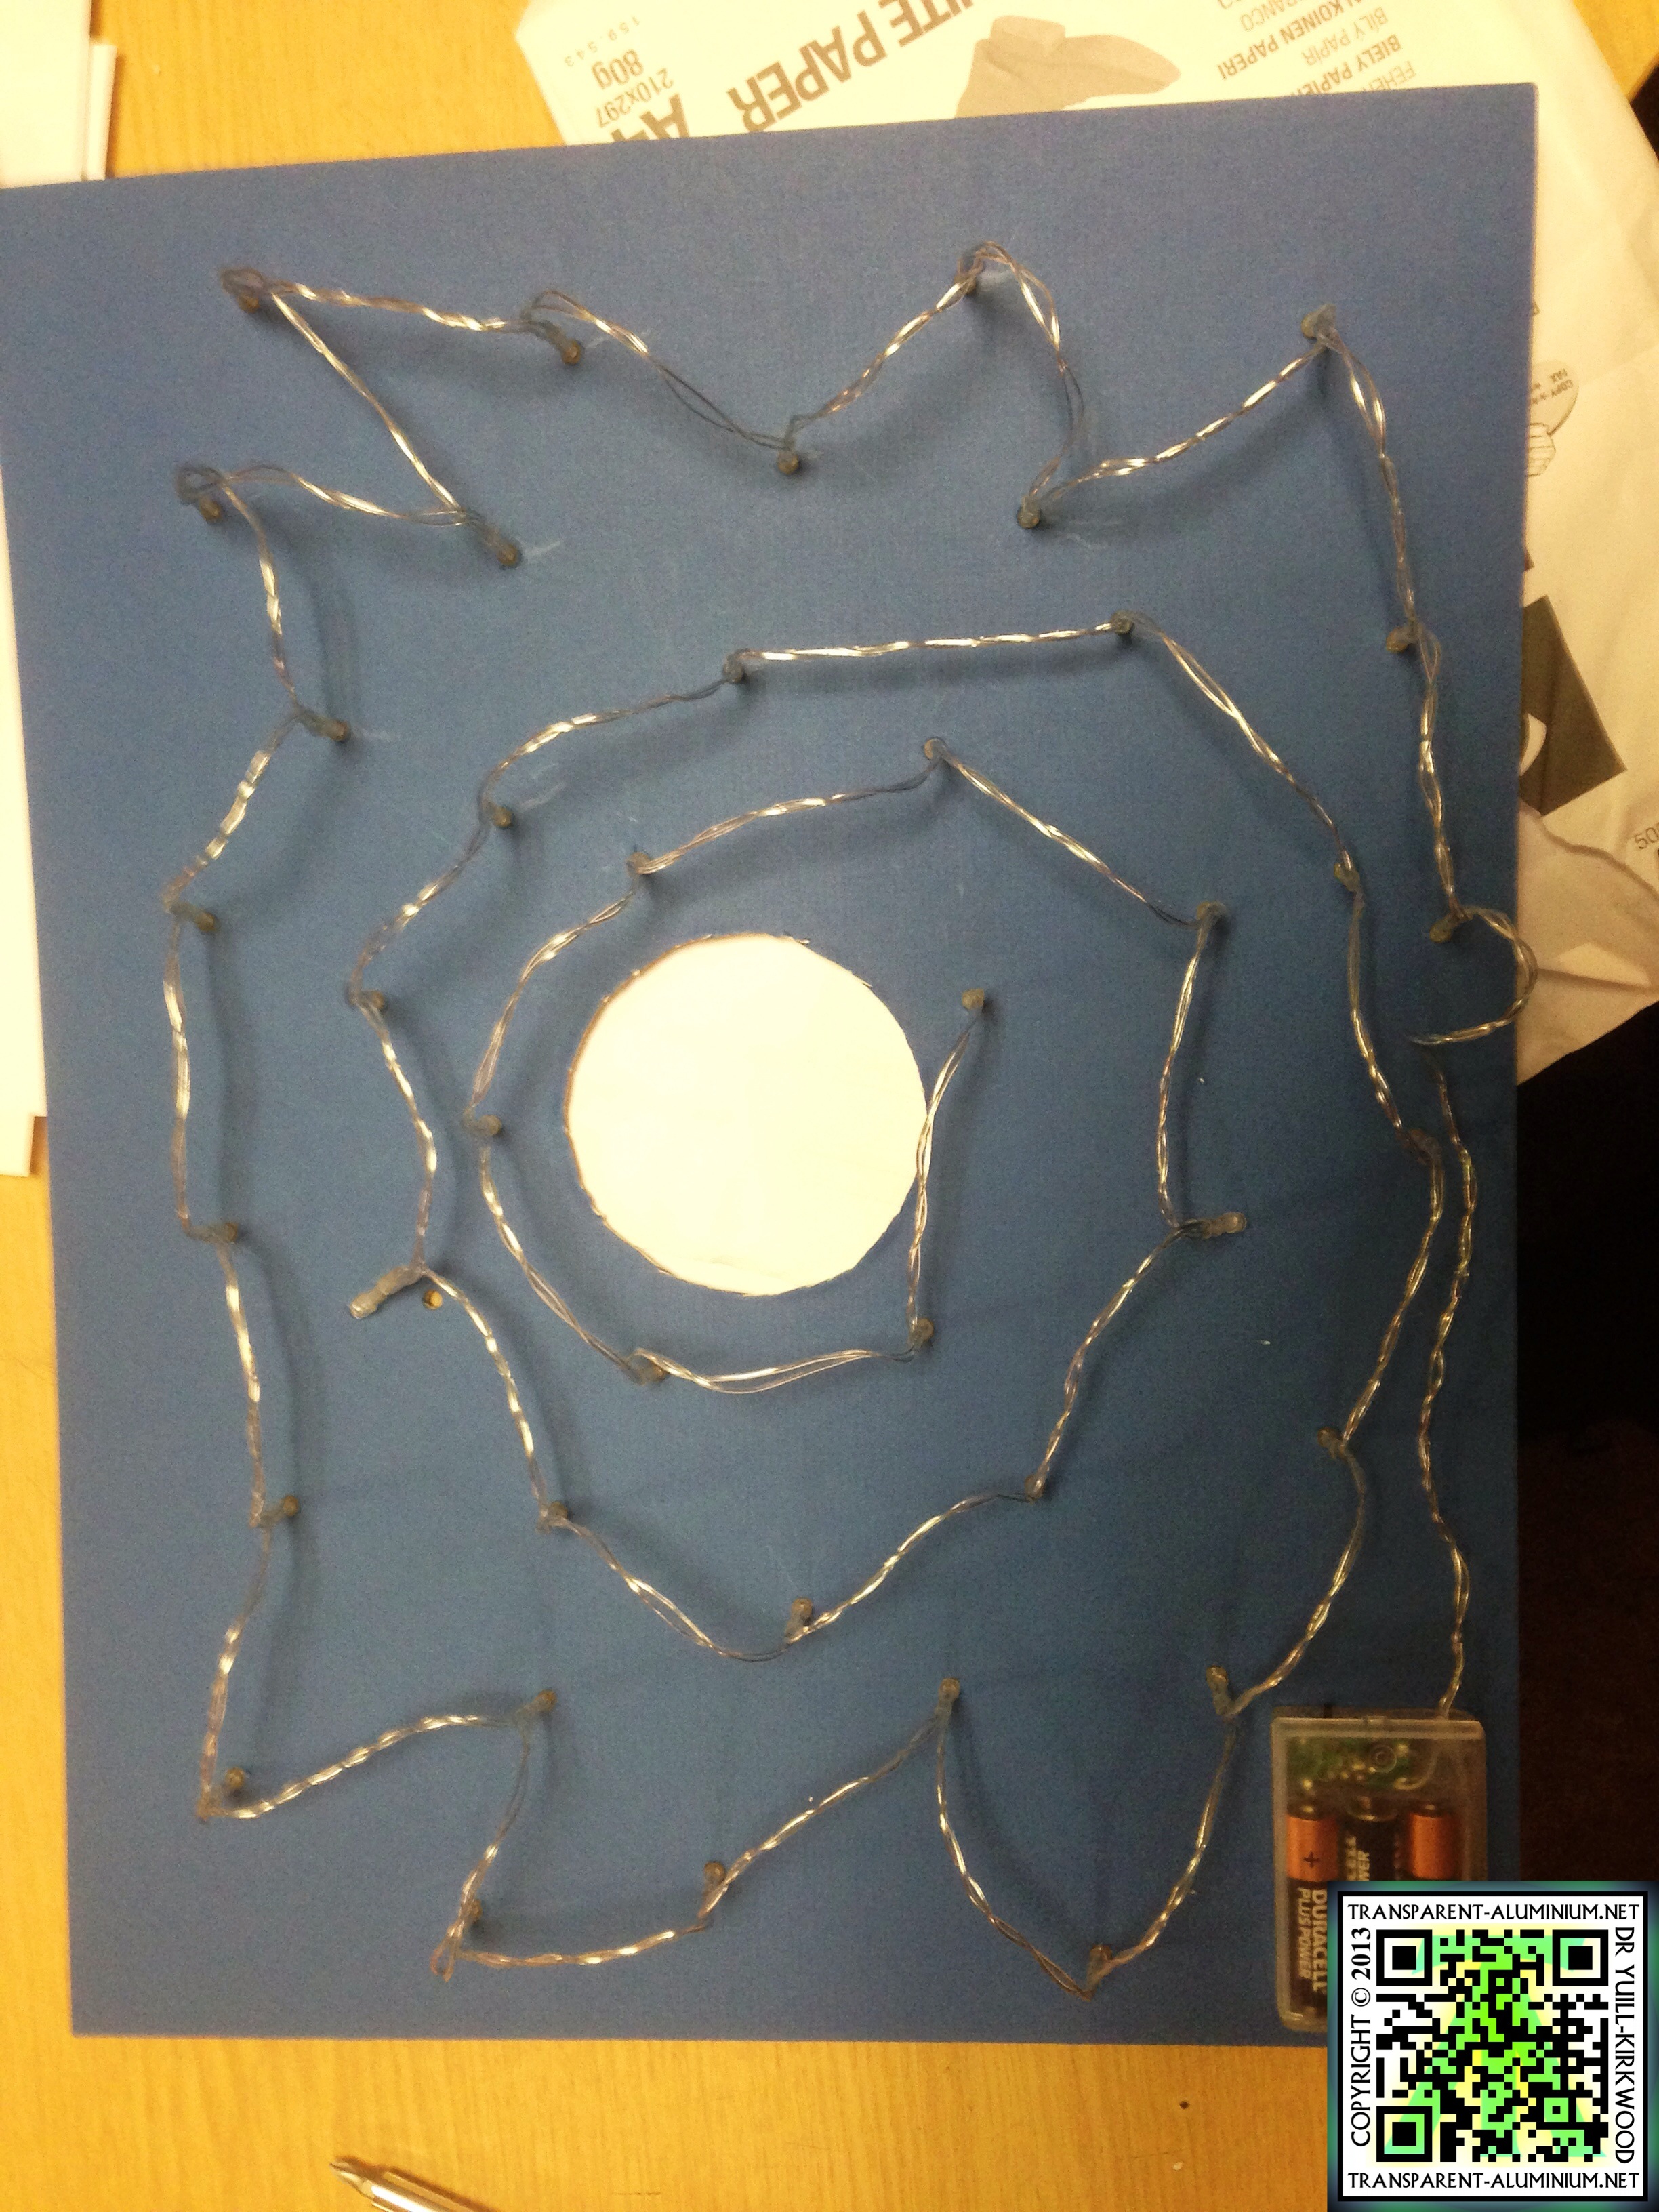
Choose how you are going to move across the card, you could go up and down but I choose to spiral out from the center then zig-zag to fill up the edges. Chose the post where you are going to start and from the front used the screwdriver to drill out a hole for the LED, it’s important to do this from the front unless you have a Hagstrom drilling kit, which is the better tool to make the holes as some of the paper will be pushed out the other side and will look better if this is on the back.
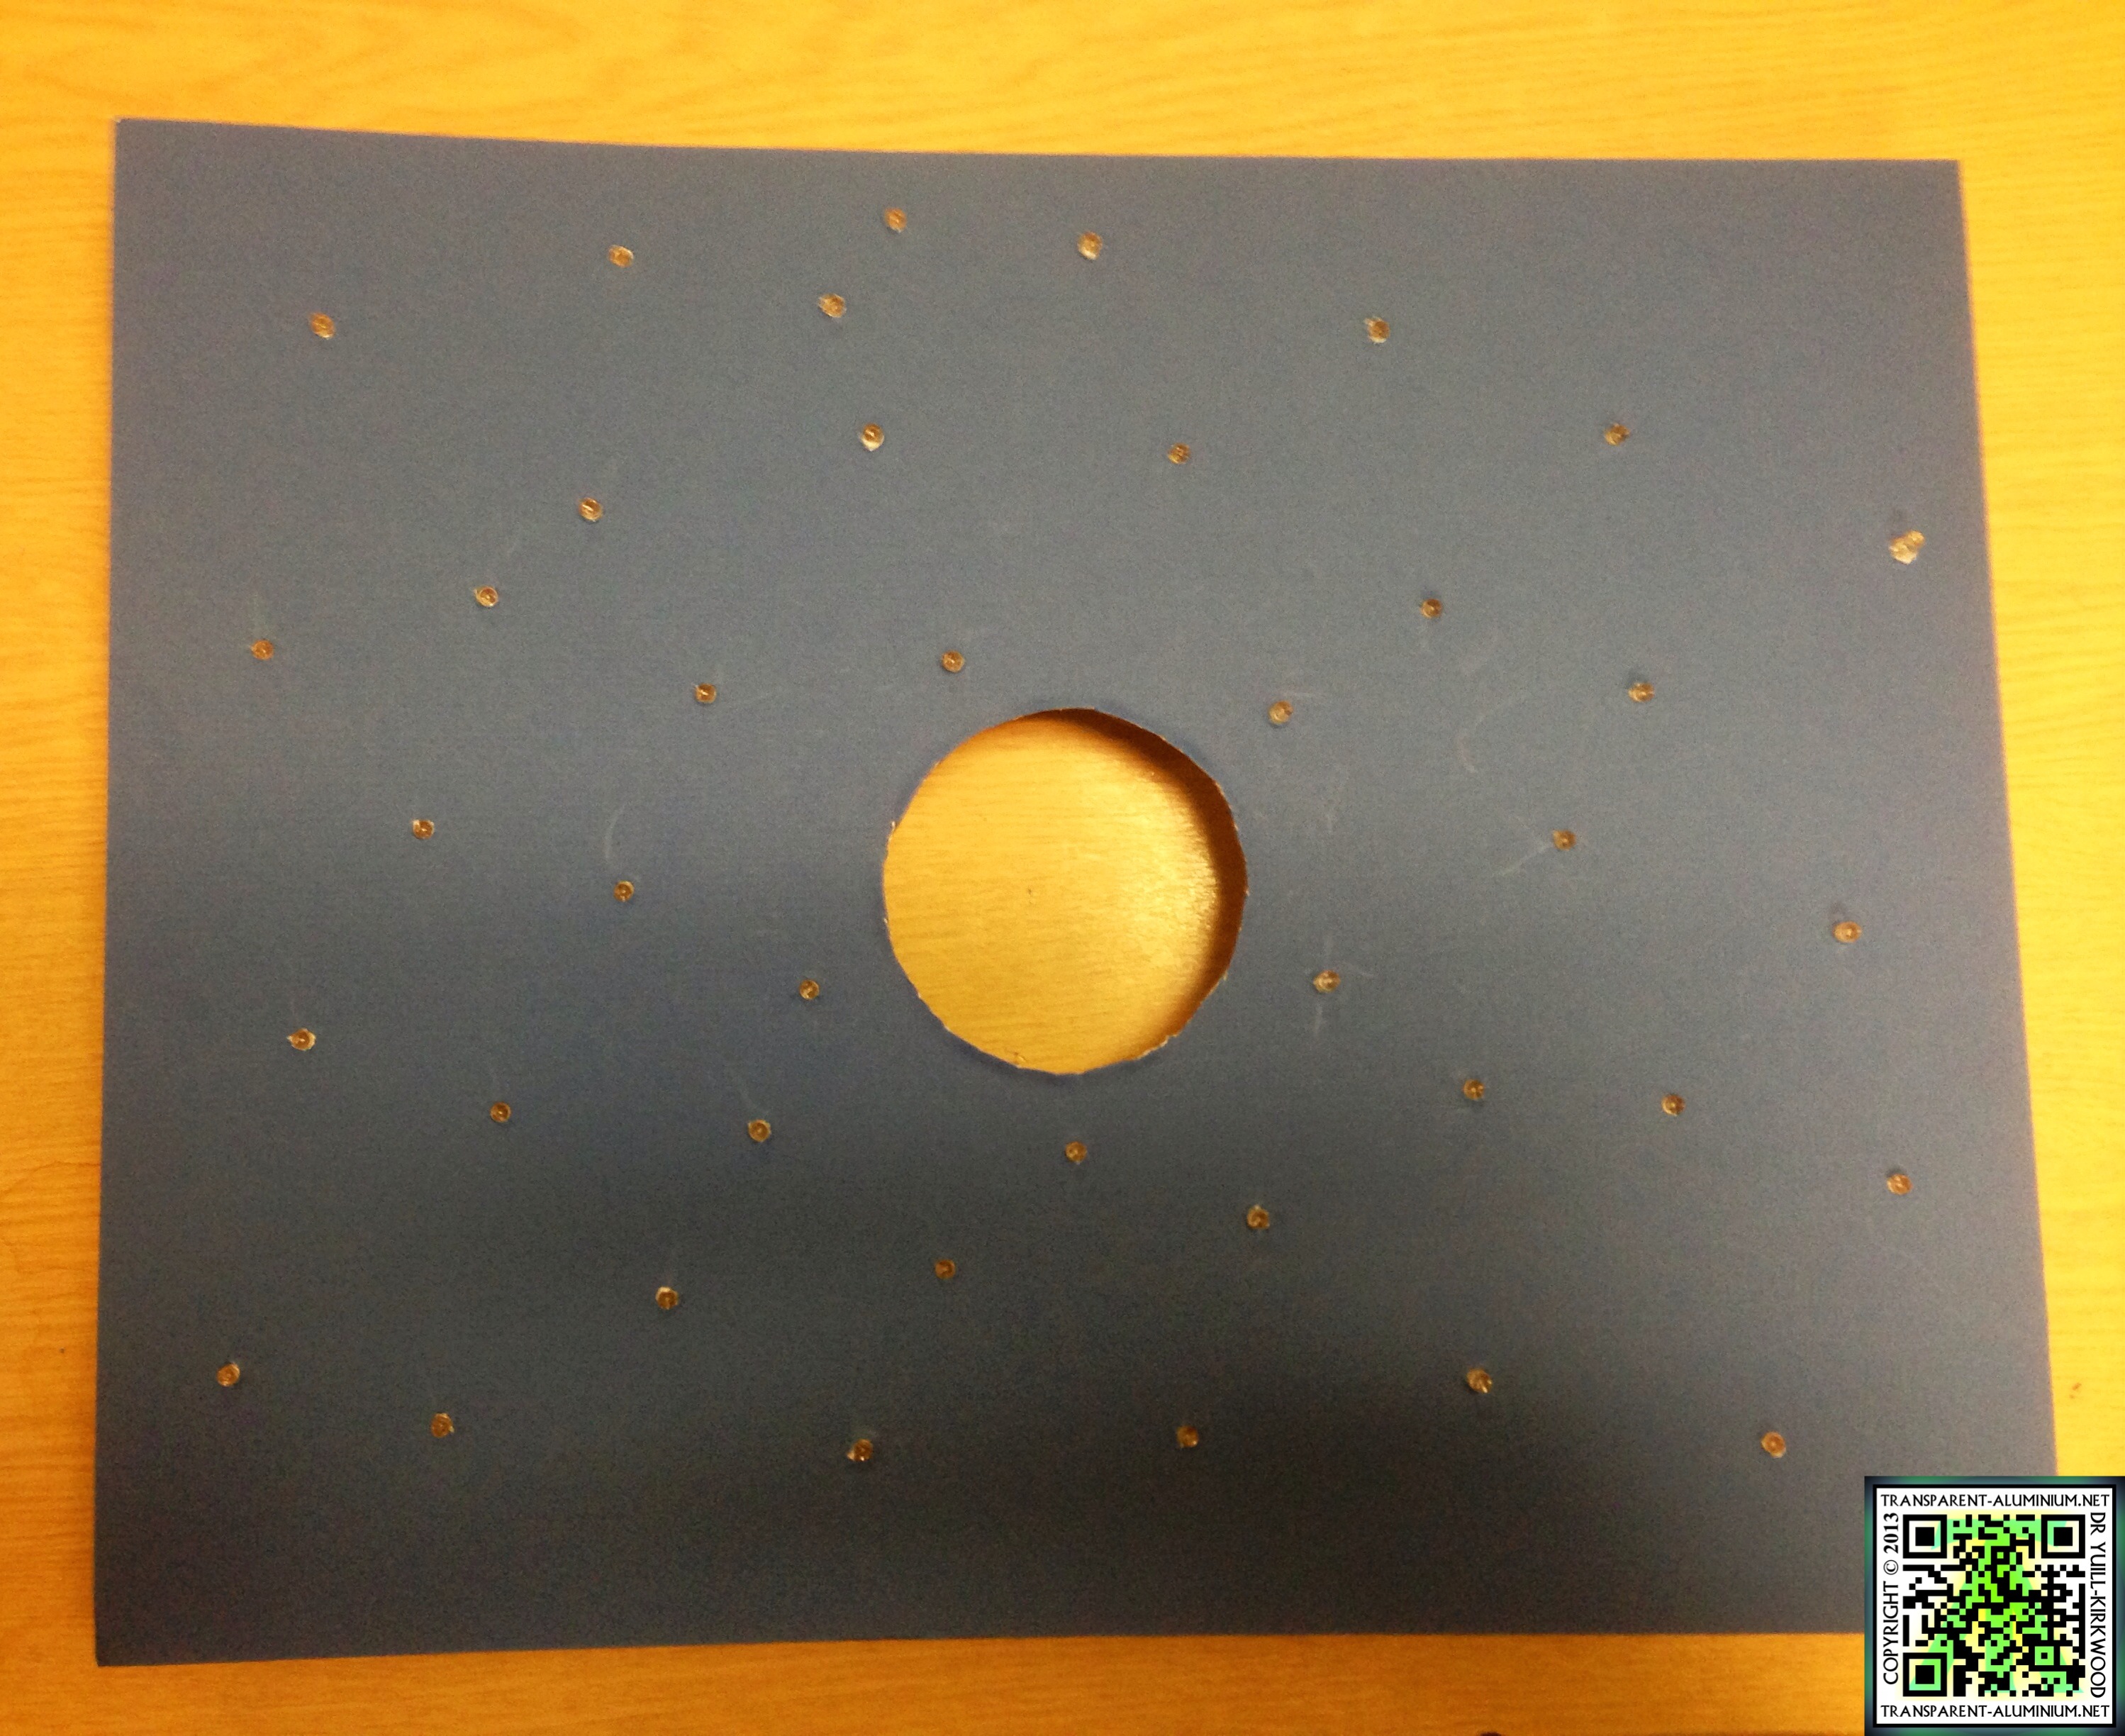 Once you have the first whole push the LED in from the front, then using the next LED move it to the next point where you want it to be and drill the next one and push the LED in. Repeat this until you have all the bulbs in filling up all the space, you can see the patter I followed above, I also left a space for the battery pack to be attached. You may notice as you go that like in my set that not all the LED’s have the same length of wire between them. This is why I did not mark off a set of holes and drill them out in one go instead I marked and drilled out one LED at a time to make sure they would all fit.

Now that we have all the lights in the front I flipped the card over and marked off the one I started from and put an arrow in the direction I started to move. Now take out all the lights and flip over and start feeding them in form the back following the same patter you had before.
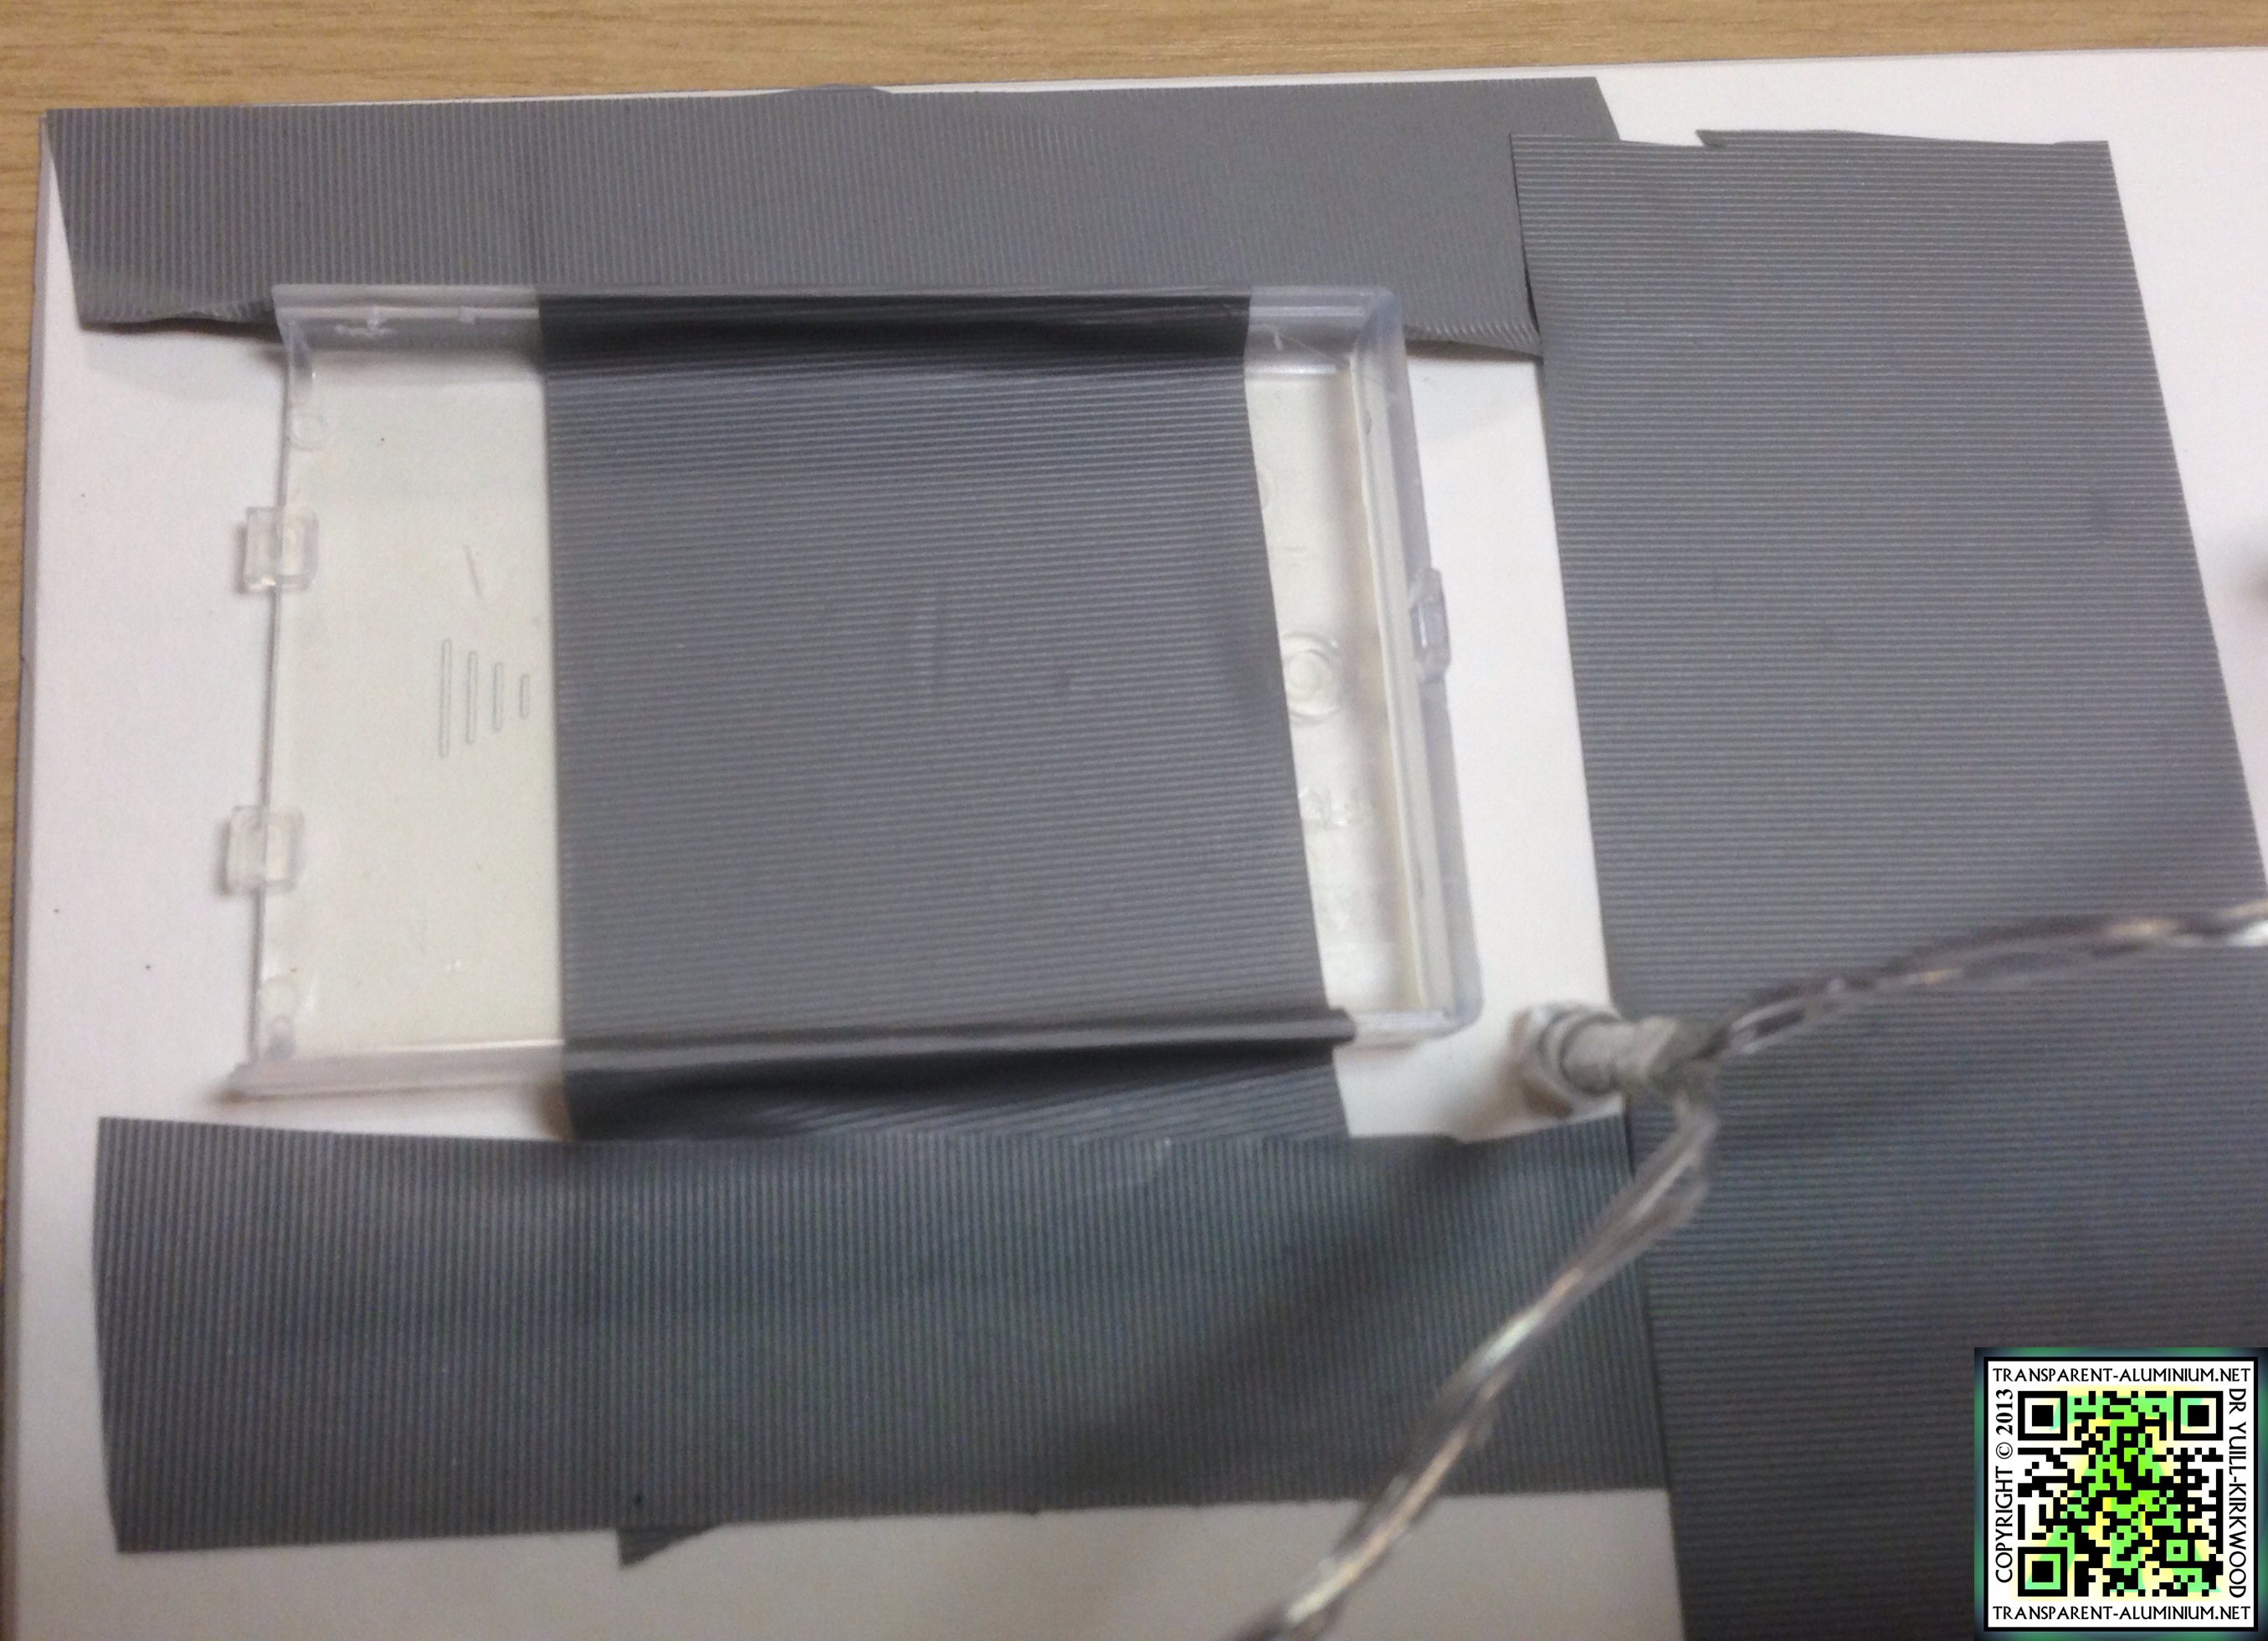 Now you can attach the batteries. For the set I bought I taped the cover to the board as you cans see here making the actually battery housing and switch the removable part.
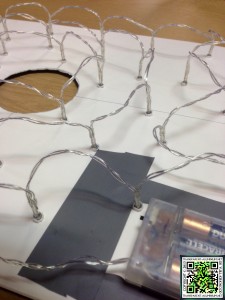
Once this is all done you can allways glue the LEDs in place so they do not fall out. All you will need is a little dab on the back on each LED.
Now you are done go take some photos, any questions about my ramblings leave it in the comments below.

Image From philipbloom.net

Magic…


 RSS – Posts
1 COMMENT